Sunday, April 29, 2012

1 Potato, 2 Potato, 3 Potato, More!

     Being a Weight Watcher member may have led to the diminishment of my potato serving size but my love of potatoes has remained constant.  Mashed potatoes, cheese potatoes, roasted potatoes, grilled potatoes, fried potatoes - I love them all!  Potatoes my be a staple for many of us but variety is the spice of life!  
     Today's offering is an oven-baked potato, Puffy Potato Rounds.  They are easy to make, tasty and just a little different.  Many of us Weight Watcher members opt for oven-"fried" potatoes to try to cut out the fat.  One of the problems I often have when making oven fries is the "stick" factor - when I try to turn them over I end up leaving their nice brown bottoms on the pan (I think the potato's starch may be the culprit).  The little bit of flour used in this recipe seems to help hold the seasoning on the potato, seal in the moisture and keep them from sticking.  They're still a work in progress so any suggestions are appreciated!
 

Puffy Potato Rounds

 Ingredients:

A pound of raw potato rounds.
  • A pound of smaller, thin-skinned potatoes such as red or yukon gold (I used 3 4-inch potatoes)
  • 2 tablespoons all-purpose flour 
  • Salt and pepper (1/4 - 1/2 teaspoon each, to your taste) 
  • 1/2 teaspoon granulated garlic 
  • 1/2 teaspoon onion powder 
  • 1/4 teaspoon cayenne (ground red pepper) 
  • 1/4 teaspoon paprika 
  • A plastic bag for shaking 
  • Olive oil cooking spray


Putting it Together:

Ready for the oven.
       Preheat oven to 400 F (I used convection).  Spray a heavy baking sheet (I used my two burner-sized non-stick griddle which is oven-safe) with cooking spray.  Scrub the potatoes and slice into 1/4 -1/3 inch thick rounds; set aside.  Combine flour and spices in sturdy plastic bag, shake to mix well.  Place the potato rounds a handful at a time into the plastic bag and shake until lightly coated; remove and place on prepared sheet, trying not to overlap.  Continue with remaining rounds.  Spray rounds with cooking spray and bake in the preheated oven for 20-30 minutes (turning rounds over half way through) or until softened inside and golden brown outside.  Serve immediately since like all oven-fried potatoes they wilt and soften when cool.    


      Weight Watchers Recipe Builder estimated a total of 9 Points for this recipe or 3 servings at 3 Points per serving.  I had half of the flour-seasoning mixture left, enough to coat another pound of potatoes, I would estimate.     


String Beans, Tomato and Bacon - oh, my!

     I am perfectly content to eat plain, steamed vegetables - and often do just that, but a little something extra can make a delicious difference.  We all know that bacon makes everything better and just a Point's worth of the yummy stuff makes this green bean, onion, tomato veggie side dish saute a favorite.  I make this side dish when good green beans are available but frozen green beans could be substituted and would not need to be pre-cooked.  Rather than fresh tomatoes, diced canned tomatoes could be used.  My husband loves this dish and I originally made it for him.  I do not care for fresh tomatoes - it's that goop in the middle and seeds (so I scoop that out with my thumb before I chop) - and eating them with the beans, onions and bacon has helped me add a new food to my diet.
     I must give props to Melissa D'Arabian and her Food Network Show, "$10 Dollar Dinners."  Bacon was usually wasted at my house - we'd enjoy a few strips for a special breakfast and forget about the rest until too late.  Melissa keeps her package of bacon in the freezer and cuts off frozen strips (lardons) when she needs a bit for a recipe.  This method has worked like a charm for me though I usually make my lardons very thin or mince them - makes me feel like there's more!  I'm not an experienced bacon-fryer but I have learned to cook the bacon bits low and slow.  The lower heat helps to render the fat and the slow gets them nice and crispy.  I dump them out (fat included) on folded paper towels (one serving is not much), and use the same pan for whatever comes next - veggies, potatoes, eggs, etc.  I also use bacon that is labeled as low-fat (an oxymoron if I've ever heard one!) which is center-cut bacon.  I use Kroger's Private Selection (1 point for 2 strips) center-cut.  The package stated it had 7 total servings so I lightly scored the stack after opening but before freezing, marking the servings for future use.  The nutritional info also posts the weight of a cooked serving and I've used that to double-check myself.     
   Obviously you'll not be able to fry up traditional strips once the bacon is frozen but for scrambled eggs or breakfast tacos I cook up lardons and sprinkle them in/on the eggs.  I jazz up corn-potato chowder with a sprinkle of bacon for garnish (gets soggy in the soup); bacon adds a great flavor to braised beef stew or coq au vin; one serving along with some seasoning can turn a can of pinto beans into yummy "re-fried" beans.  A little extra Point expense can elevate a dish to something special.  I'm cooking for the rest of my life not just the right now (Weight Watchers is a life-style change, after all) and moderation, not deprivation, is my way.    

String Beans With Tomato, Onion and Bacon


Ingredients: 

String Beans with Tomato, Onion and Bacon
  • A pound of string beans (trimmed and cut into 1-1/2 inch pieces)
  • A large or 2 small tomatoes (cut into 1/2 inch dice)
  • A medium sweet onion (cut into 1/2 inch dice)
  • 2 strips of bacon (or amount equal to 1 Point)
  • 1/4 teaspoon of crushed red pepper flakes (optional)
  • Salt and pepper to taste

Putting it Together:

Start bacon in a cold pan.
     Cut 2 strips of bacon into small pieces, place in cold medium-sized skillet and cook over medium-low heat until fat is rendered and bacon bits are crispy (this may take 10-15 minutes - if you're a slow chopper you may want to prep your veg before starting the bacon).  While bacon is cooking, dice onion and set aside.  Trim ends of beans and cut into 1-1/2 pieces and put in microwave steamer bag; set aside (You may use your preferred method and cook them until crisp- tender before it's time to add them to the skillet).  Dice tomatoes into 1/2 inch pieces and set aside.  
     Dump bacon and fat onto folded paper towel, return pan to medium heat and add diced onion to pan, sprinkle on 1/4 teaspoon salt and crushed red pepper flakes, if desired; saute until onion is somewhat softened.  
Just a little adds a lot of flavor.
These bags save me time and clean up.
     While onion is cooking, microwave beans for 2 to 3 minutes on high or until just beginning to soften; empty into pan with onions, stirring over medium heat.  At this point you may remove skillet from heat to catch up on the rest of your meal if needed, otherwise add diced tomatoes and some freshly ground pepper, cooking only for a few minutes (the tomatoes break down easily).  Check your seasoning, correct if necessary; empty skillet into serving dish and top with crisped bacon.


     My Recipe Builder registered a total of 6 Points for this recipe.  Prepared as written it makes 4 generous servings.  Dividing this recipe into 4, 5 or 6 servings makes for a cost of 1 Point per serving.  If the bacon is omitted the Recipe Builder decreases the total Points to 5, keeping the serving at 1 Point.

Thursday, April 26, 2012

Pasta Pretender...

     At my Weight Watcher meetings I've brought up the idea of substituting spaghetti squash for pasta a couple times.  I heard this idea at a meeting about a year ago and thought, "Yeah, that'll happen - not!"  I like to think I didn't snort in disgust out loud...  
I'm slow to try new foods that I think (i.e. KNOW) I won't like - makes sense, right?  And I DO NOT like squash. Period.  It's a textural thing for me but luckily spaghetti squash has its own unique texture, a very mild flavor and is just slightly sweet.  By the second eating I found I liked it and by the third time I loved it!  It goes together with tomato-based foods (such as marinara or ratatouille) like they were made for each other.  
     Cooking spaghetti squash couldn't be easier as I found out on YouTube.  Now I'm all for roasting vegetables to bring out their flavors and for my curried-ginger butternut squash soup (my husband's favorite) I roast the squash, but for this pasta pretender I want as little squash flavor as possible and I want it quickly, so I microwave it.  After trying a few of the posts I saw, I'll share a conglomeration that is now my go-to method.

Spaghetti Squash Cooked in the Microwave


     After washing your squash cut off the stem end.  Using a small, sharp knife pierce the squash up, down and around about 8 times.  Place the squash in a microwave-safe dish (I use a small Pyrex baking dish) and microwave about 5-8 minutes per pound.  I turn over the squash after the first round of cooking.  It is done when it feels soft under its "shell" when you press down - check on the opposite side, too.  When I have a large squash I cook just half and put the other half in a Ziplock bag in the frig.  I spray my baking dish with cooking spray, lay the squash half cut-side down, add a little water and microwave.
Easier than cooking pasta!
     Slice the squash down the length and use a spoon to remove the seeds (it's so much easier now than when raw).  Get out a fork and just drag from top to bottom to pull out the "spaghetti".  I put a couple folded white paper towels in the bottom of a holding/serving bowl to absorb the water that is released but that's just my preference.  The squash is very forgiving as it will stay hot (in or out of it's shell) for a good bit of time; it has a nice little crispiness when underdone and it doesn't seem possible to overcook.  
Sauteed veggies in jarred marinara over squa-ghetti.
     I hope you aren't as slow as me when it comes to trying spaghetti squash - you're missing out on a very good thing!  I would never mistake it for pasta but in several dishes I prefer it to pasta and I love the low Points and the idea of enjoying something that's good for me.  I enjoy squa-ghetti with marinara and meatballs, with ratatouille and sauteed vegetables...Hopefully my list will be expanding and my waist will not!


A note to my fellow Weight Watcher Friends:  Recipe Builder estimated 2 Points for a medium-sized spaghetti squash.  Two servings are 1 Point per serving, three servings are 1 Point per, four servings are 1 Point per but 5 servings are 0 points per serving.   


Wednesday, April 25, 2012

Eating Out at Home...


     One of my favorite dishes and the only thing I've ever ordered  at Carrabba's is the Pasta Carrabba.  It is made up of a huge serving of their wonderful house-made fettucini with alfredo sauce, English peas and sauteed mushrooms along with a woodfire-grilled chicken breast.  Even though I give my husband half of the pasta, get the sauce on the side and use just a few spoonfuls, and ask for the chicken "dry", it still tastes great.  So great that I tried replicating it at home and eventually was happy with my end result...happy many, many times.  
     But I felt that it needed a nutritional bump up so I decided to substitute steamed broccoli for the peas and mushrooms - and the result is my new favorite.  Sauteed asparagus and red peppers are also wonderful and preceded the broccoli phase.  I serve the alfredo sauce and vegetables over store-bought fresh pasta along with a grilled chicken breast or piece of beef and I must admit that I like it better than my inspiration...except for the pasta.   
     Be forewarned that this is a small recipe for 3 servings and that they do not look like generous servings - but the few tablespoons I eat pack more flavor and satisfaction than the huge bowl of sauce that accompanied my Pasta Carrabba.  I hope you'll think so, too.
Alfredo sauce over steamed broccoli and pasta with grilled chicken breast.

Alfredo Sauce

Ingredients:

  • A medium shallot, minced very finely
  • A teaspoon of olive oil
  •  A teaspoon of butter
  • 1/8 teaspoon crushed red pepper flakes
  • 1/4 teaspoon salt
  • 2-3 cloves whole garlic, peeled and slightly smashed (you'll need to be able to pick them out)
  • 4 teaspoons flour
  • 1 cup fat-free milk
  • 1/8 cup half and half
  • 3/4 ounce finely grated Parmesan cheese (I use parmigiano reggiano)
Waiting until ready for the cheese.

  Putting it together:

     Heat the oil/butter and add shallot; sprinkle on salt and crushed red, toss in garlic cloves and saute over medium-low heat until softened.  Sprinkle flour over mixture, stirring for a minute or two to cook out the raw taste of the flour.  Slowly pour in combined milk/half and half, stirring constantly.  Mixture will thicken slightly but take care not to overheat.  At this point I often just turn off the heat to go grill my chicken, finish chopping veg, etc.  
I love these bags!
When I am ready for the sauce I turn the heat back to medium-low, remove the garlic cloves, stir and add a tablespoon or 2 or 3 of pasta water (or hot tap water) 
and stir in the 3/4 ounce grated cheese; taste and add salt if needed.  Use a rubber spatula to scrape every yummy bit over vegetables and/or pasta.
      Recipe Builder estimates 10 points for this sauce recipe (about 1 cup total), 3 Points for each of 3 servings.  
     My 5 oz. grilled chicken breast (4 Points), the cup of fresh pasta (5 Points), my steamed broccoli (0 Points) and my serving of alfredo  (3 Points) totaled 12 Points.  This 12 Point meal was carb heavy and I may cut down or cut out the pasta next time but I enjoyed it - almost as much as I enjoyed feeling no guilt!


A Switch-Up Update...

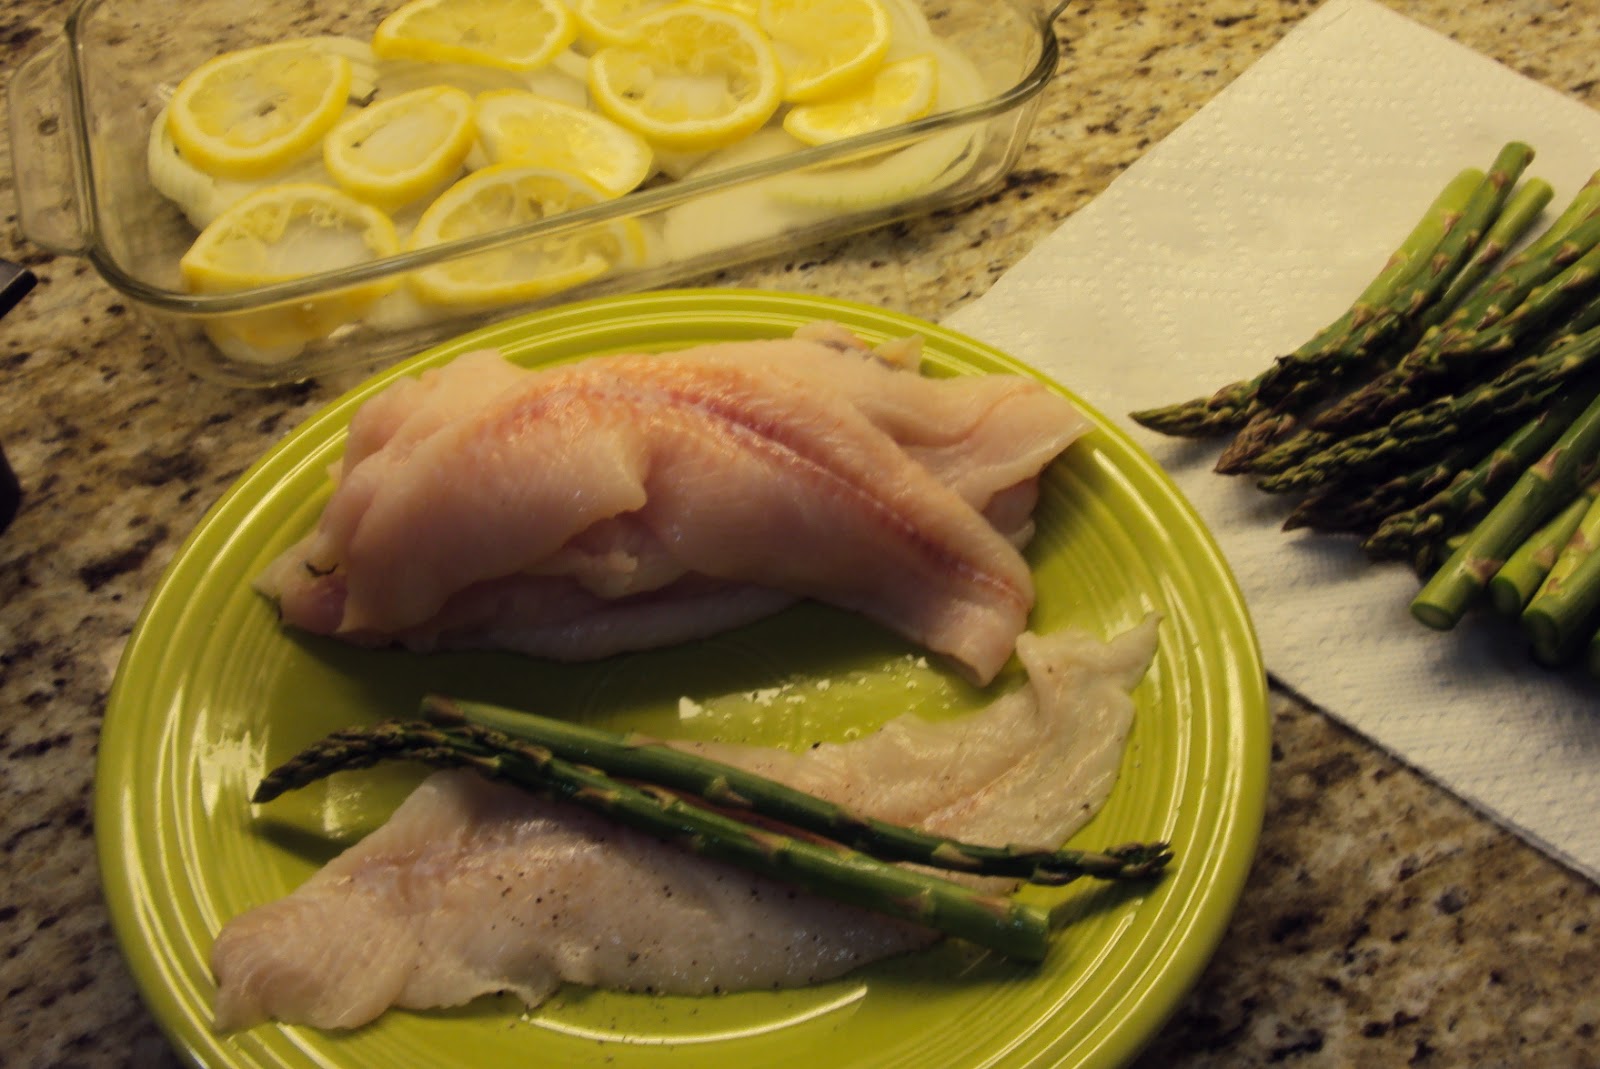
Grilled chicken breast over sauteed asparagus and red peppers with pasta and alfredo sauce.
     My husband has been pestering me for asparagus and red pepper with the skinny alfredo sauce for months so I took pity on him.  It had been months since we'd last had this combination and it was a very nice change.  I simply sauteed the veggies inside but grilled (my husband's idea - next time...) veggies would be good, too.  What combinations sound good to you?

Tuesday, April 24, 2012

Chicken Little...

     Boneless skinless chicken breasts are a Weight Watcher staple which I usually enjoy grilled.  After much prompting from my husband (answering, "How about chicken parm?" whenever I asked for his dinner input) I decided to try to improve my oven "fried" chicken breasts.  The simple recipe for crispy chicken breasts I came up with would never be mistaken for fried chicken breasts but are (at least to my mind) delicious and moist and a great accompaniment to pasta (or spaghetti squash) and marinara or with my Easy Ratatouille.  The following recipe is for two breasts so just double or triple the crumb recipe as needed.

Crispy Baked Chicken Breasts

Crumb Coating Recipe: 

  • 1/4 cup Ian's Panko Breadcrumbs (or any Panko equaling 2 Points per 1/4 cup)
  • 1/3 ounce finely grated Parmesan cheese (I use Parmigiano Reggiano)
  • 1/4 teaspoon dried oregano (rubbed and crushed between your palms)
  • 1/4 teaspoon dried basil (rubbed and crushed between your palms) 
  • 1/4 teaspoon salt
  • 1/4 teaspoon pepper
  • 1/4 teaspoon garlic salt

In Addition:

  • 2 skinless boneless chicken breasts (about 5 ounces each)
  • 1 tablespoon light butter, melted
  • 1/4 cup part skim mozzarella (to equal 2 Points) 
  • Cooking Spray
  • A meat mallet
Breast on right is flattened.

Putting it Together:

     Preheat oven to 400 F; convection is fine.  Combine the crumb ingredients in a large, flat-bottomed bowl or pie pan; set aside.  Trim any visible fat from breasts and place a long piece of plastic wrap on a flat, washable cutting board.  Place the breasts, side by side (leaving ample space between them) on top and fold over the plastic wrap to cover them.  Using the flat end of a meat mallet gently pound the breasts on the thickest parts until they seem nearly a uniform thickness.    
Don't forget to season the chicken!
     Brush the breasts with the melted light butter, sprinkle lightly with salt and pepper and press buttered side onto crumb mixture, one breast at a time.  Place crumb side down and repeat process on remaining sides.

     Place on a baking sheet (with low sides) which has been sprayed with cooking spray, spritz the breasts lightly with the spray (I use olive oil cooking spray) and bake in a preheated 400 F oven for approximately 10-15 minutes; sprinkle with the mozzarella 3-4 minutes before done.    


   Recipe Builder has estimated 15 Points for the 2 chicken breasts (10 ounces raw chicken, total), making for a total of 7 Points per serving.  In the above photo I served the chicken with a quick vegetable sautee and Barilla marinara sauce over spaghetti squash for 4 additional Points.  It was a delicious and filling meal costing me 11 Points.

Poppin Fresh...


Lemon Pepper Popover
     I was trying to come up with a carb/starch to have with my Sole-Wrapped Asparagus Bundles recently and realized that I hadn't made popovers for months.  When it comes to muffins or other quick breads I often end up with a less appealing version after my Point-lowering changes but not so with popovers - I get the unadulterated real deal for 3 points per popover!  For those of you not familiar with these yummy poufs (crispy and light balloons with an egg batter interior), popovers have few ingredients, including not too much fat and no sugar - so they are an indulgence that won't break your Points bank.  Keep in mind that there is a price to pay since they cannot be made ahead of time and they do not keep well.  
     This recipe (which is pretty basic) came to me some years back from a magazine in a waiting room and it has always turned out so I hope it works well for you, too.  For plain popovers just omit the lemon zest and pepper.    


Lemon Pepper Popovers (makes 6)

Ingredients:

  • 3/4 cup whole milk (I used nonfat)
  • 1/4 cup water (I used nonfat - LOL)
  • 2 large eggs
  • 1 teaspoon grated lemon zest
  • 1 tablespoon unsalted butter (I use salted)
  • 1 teaspoon butter or canola butter blend
  • 3/4 cup plus 2 tablespoons all-purpose flour
  • 1/2 teaspoon salt
  • 1/2 teaspoon freshly ground pepper (preferably)
You will need a 6-cup popover pan or a heavy muffin pan


Putting it Together:

     Preheat oven to 375 F with rack in lower third - I don't recommend using convection for this recipe and I know this from personal experience!  Divide the teaspoon of butter between the 6 cups of the popover pan, let soften and use a brush to grease the cups; set aside. 

     Whisk together the milk, water, eggs and zest in a bowl (I use a spouted bowl to make it easier to pour batter into the pan), then whisk in melted tablespoon of butter.  Add flour, salt, pepper and whisk until the batter is combined but still lumpy.

     Pour batter into buttered popover cups (I give the batter a few stirs while pouring to keep the pepper and zest from settling), dividing as equally as possible; sprinkle tops with a bit of additional pepper.  

     Bake for approximately 40 minutes or until puffed and golden; remove from oven and cut a 1/2 inch long slit in the top of each popover and bake for 5 more minutes.  Serve immediately and enjoy!  

     If you do not have a popover pan you can use a muffin pan.  This recipe for 6 popovers would make 9 smaller muffin pan popovers.  Bake about 30 minutes before cutting the slits.  

    
The total in my Recipe Builder is 20 Points for 6 popovers, 3 Points per popover.   

Gone Fishing...

     I am thankful to have a source for good, fresh fish at Central Market here in Houston and even more thankful for their knowledgeable fish mongers.  I was deliberating waaay too long in front of the fish case (mourning the end of wild-caught salmon season) when my favorite fish guy came to the rescue - he suggested wrapping Dover sole around the asparagus he spotted in my cart.  From his mouth to my kitchen and now I've got another low Points and delicious fish dish!


 Sole-Wrapped Asparagus Bundles

  Ingredients: 

  • 1 pound of Dover sole fillets, approximately the same size 
  • A bunch of fresh asparagus (stalks on the thin side)
  • A medium onion
  • A large lemon  
  • Dijon mustard, 2 to 3 teaspoons
  • 1 tablespoon of light butter, melted
  • Salt and pepper
  • 1/4 cup water 
I used a pound of sole for two people (with hearty appetites) but that amount could serve three - this recipe is a snap to bump up or down.  

Putting it together:  

       Preheat the oven to 425 F, rack in the lower-middle.  Melt butter in a small bowl in  the microwave.  Zest lemon over same bowl - I used half for this recipe.  Lightly juice the lemon and add 2-3 tablespoons of juice to the bowl.  Whisk in the mustard and about 1/4 teaspoon salt and a few grinds of pepper.  Set aside.
     Slice the lightly juiced lemon halves and onion into thin slices and place on the bottom of the baking dish which you have sprayed lightly with cooking spray.  Pour over about 1/4 cup water and set aside.
     Rinse and trim your asparagus (if you have thick stalks you may wish to zap them for a minute or 2 in a vegetable steamer bag in the microwave beforehand).  Have the salt and pepper handy - if you mix a bit more than you need in a saucer you won't have to keep washing your fishy hands.  Lay out a fillet, season it lightly with salt and pepper, place a few asparagus across the fillet at an angle and wrap it around and under and set the bundle atop the onion/lemon/water layer in the baking dish seam side down; continue with the rest.  When you're finished, spoon the sauce over the bundles, cover tightly with foil (I use the non-stick kind) and bake for 20-25 minutes or until fish is opaque and flakes.  Use caution when checking for doneness since the bundles are steaming-baking.

My Weight Watchers Recipe Builder came up with a total of 13 Points for the entire recipe.  This would be approximately 6 ounces of cooked fish and 7 Points each if divided into 2 generous servings.